Zultys - Android App (OLD)

A guide for installing the new mobile app can be found here:

Installation
This app has been superseded by Mobile ZAC.
Usage
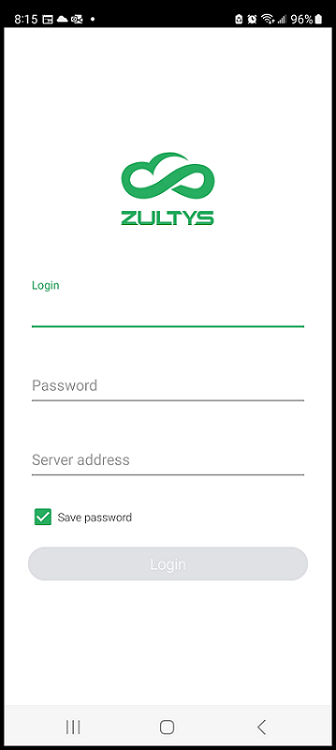
Logging In
- Open the mobile app, and you will be prompted with a login screen.
- Enter your login name. (typically your extension)
- Enter your password. (this would be provided during installation, contact us to have it reset)
- Enter the server address / hostname. (usually something like COMPANY.cloud.topsoffice.ca)
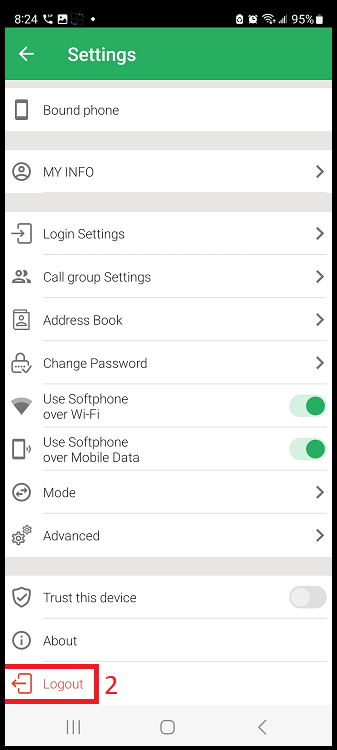
Logging Out
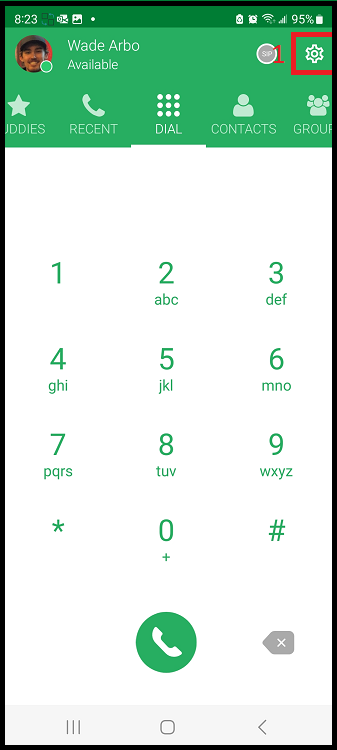
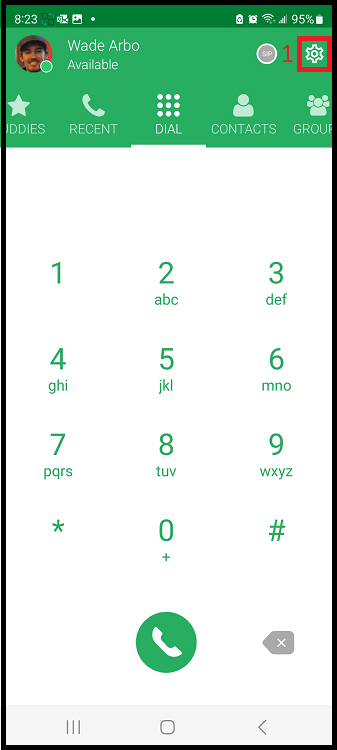
- Click the settings icon in the top right of the screen.
- Clock Logout.
Call Control
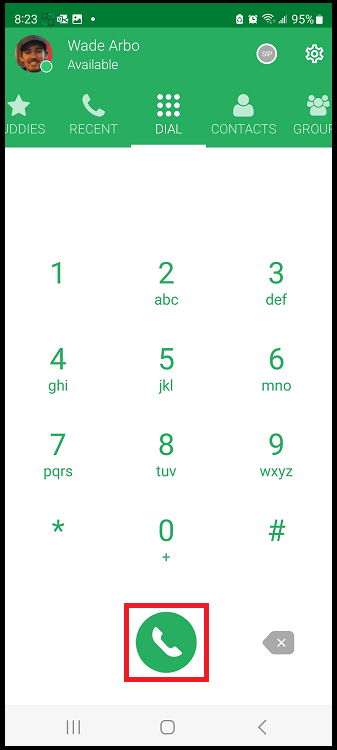
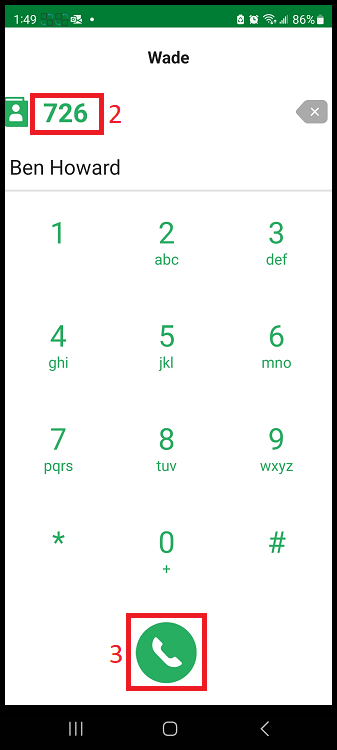
Placing a Call
Navigate to the Dial screen, enter a phone number or extension, and then press the green call button to initiate the call.
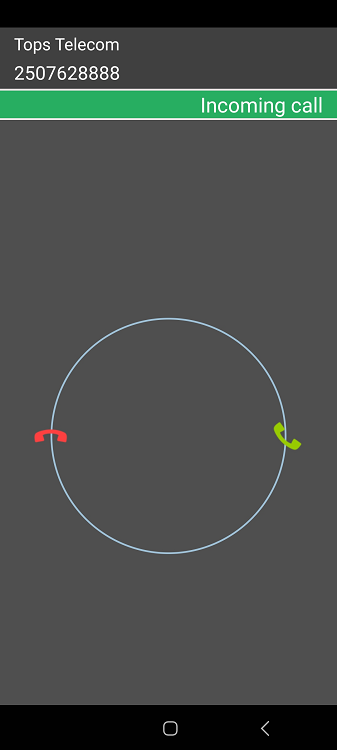
Answering a Call
Swipe right to answer or swipe left to decline.
If you are already using the phone, press Answer in the popup that appears at the top of the screen.
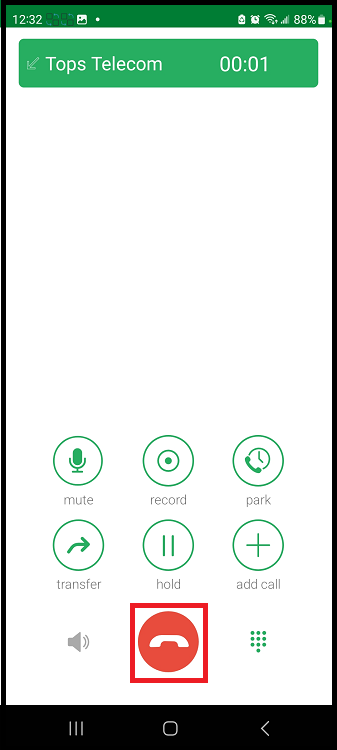
Ending a Call
Press the red End Call button.
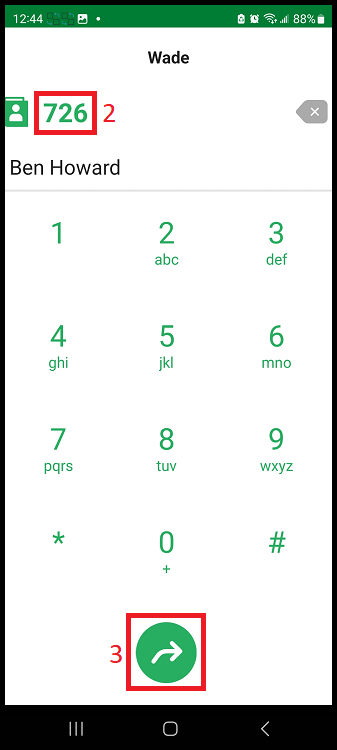
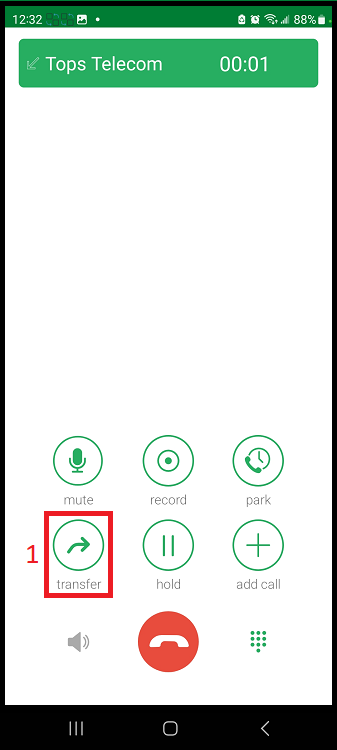
Blind Transfer
A Blind Transfer is when you transfer the phone call to another user without speaking to the destination party first.
- Press the Transfer Icon
- Dial an extension, or select an entry from the address book.
- Press the B Transfer icon to complete the transfer

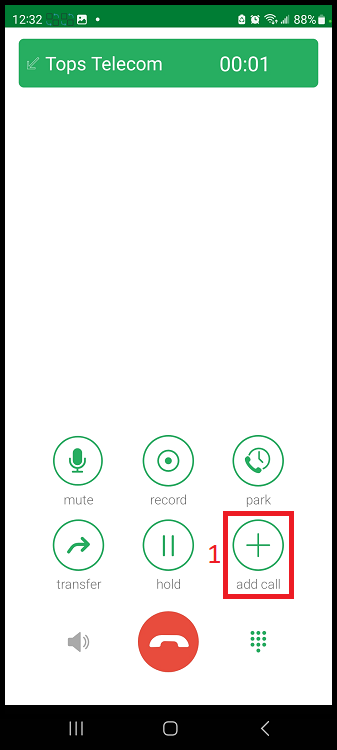
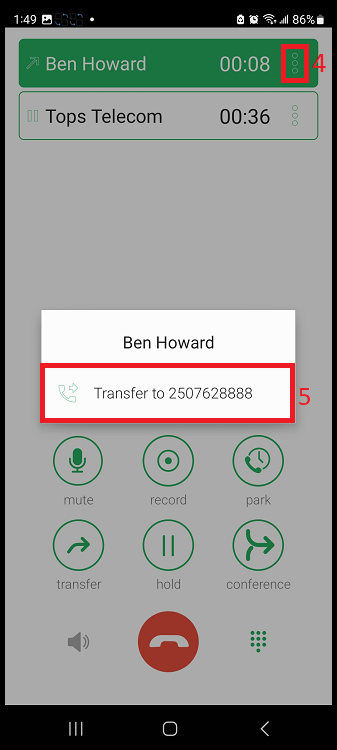
Attended Transfer
- Press the Add Call icon
- Dial an extension, or select an entry from the address book.
- Press Send (the first call is placed on hold).
- After consultation, press more beside either call
- Press Transfer To [number].
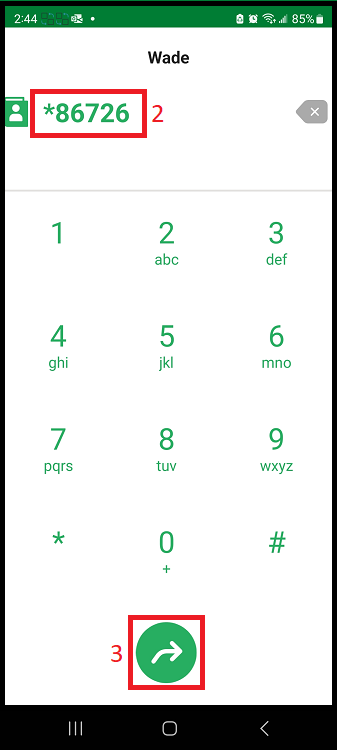
Transfer to Voicemail
- Press the Transfer icon
- Dial *86 + [extension number]
- Press the B Transfer icon
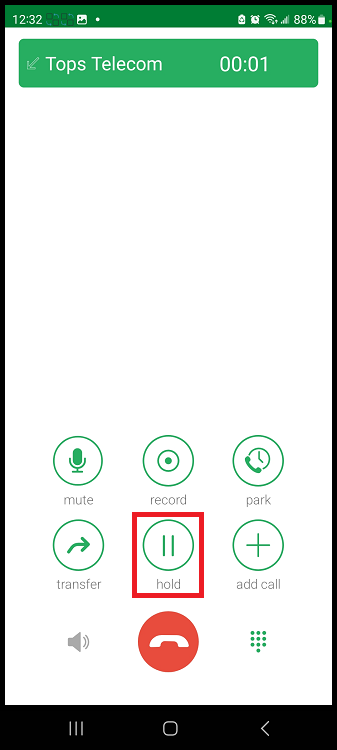
Hold
Press the Hold icon
To retrieve the call, press Hold icon again
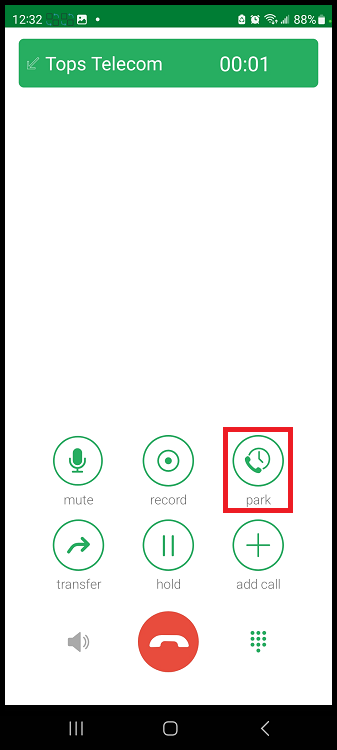
Park / Pickup
Press the Park icon to park the call
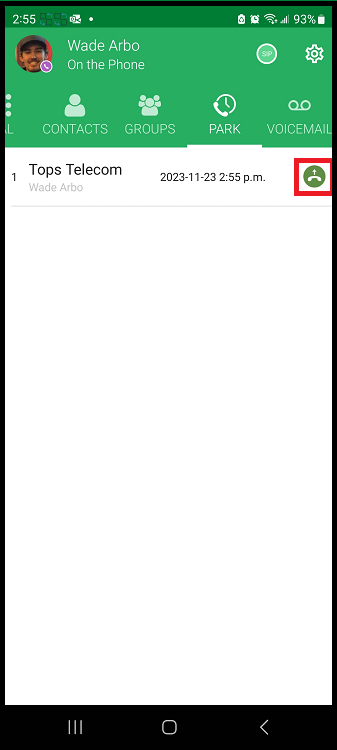
To retrieve the parked call, navigate to the Park window and press the Pickup icon
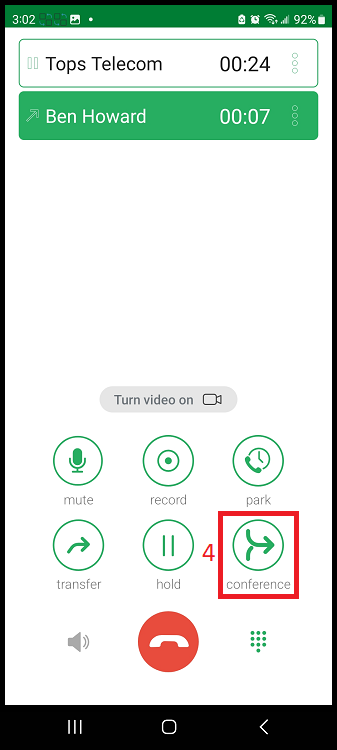
Conferencing
3 Party Conference
- During an active call, press the Add Call icon
- Dial an extension, or select an entry from the address book.
- Press Send (first call is placed on hold
- Once the second call is answered, press the Conference button
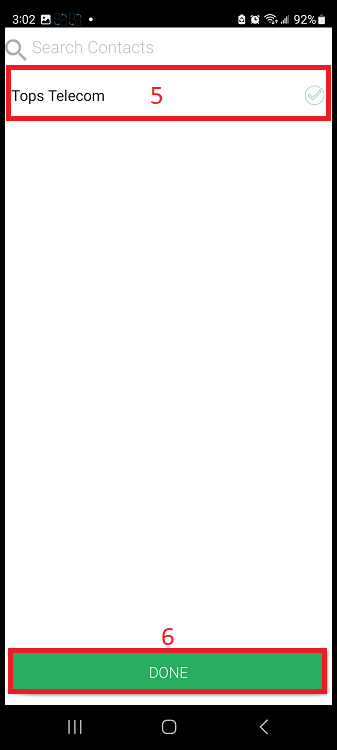
- Select the first call to add it to the conference.
- Press Done
Instant Conference
There are typically 4 instant conference extension on the system: 195,196,197,198
- Dial one of these extension and press Send
- Instruct any number of other users to dial the same extension
- You will automatically be conferenced together
If you are alone in the conference, you will hear Music on Hold
Voicemail
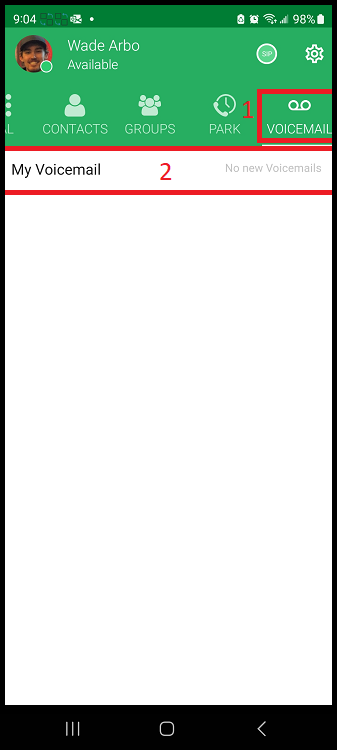
When you receive a new voicemail, it is displayed on the voicemail screen.
To listen to it, you need to do the following:
- Click the Voicemail tab
- Click the desired mailbox to view the appropriate message.
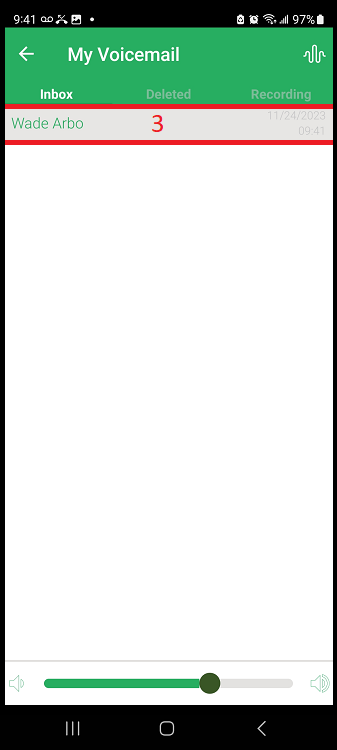
(This only applied if you are provided access to group mailboxes) - Click the new voicemail
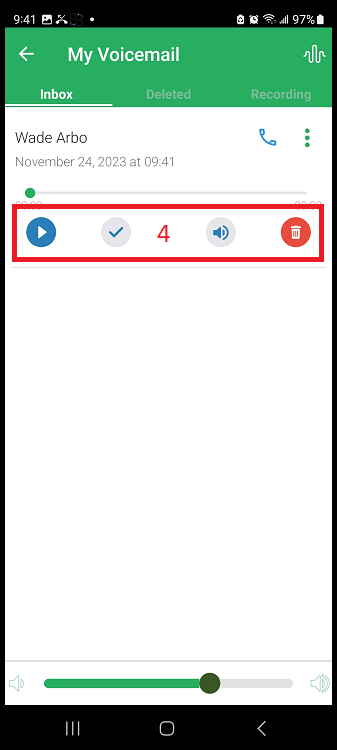
- You may select various options for the voicemail message itself. (speaker, forward, play, reply (internally), or call directly.)
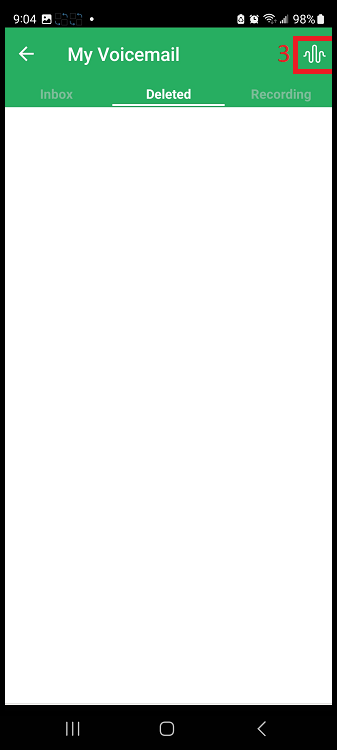
Manage Greetings
To manage your voicemail greetings, you need to do the following:
- Click the Voicemail tab.
- Click on My Voicemail.
- Click the Greetings Icon.
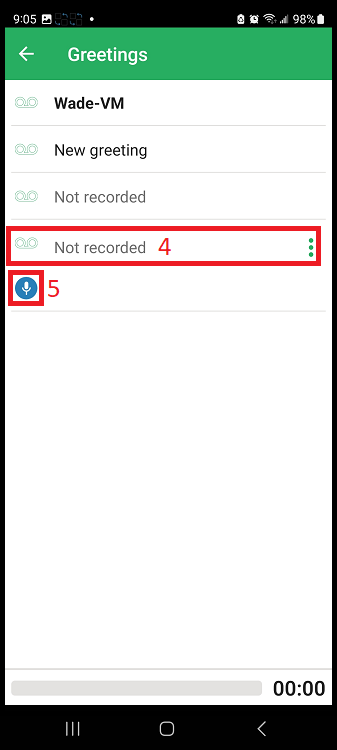
- Select a recording (1-4).
- Hit the Microphone button to start recording the greeting.
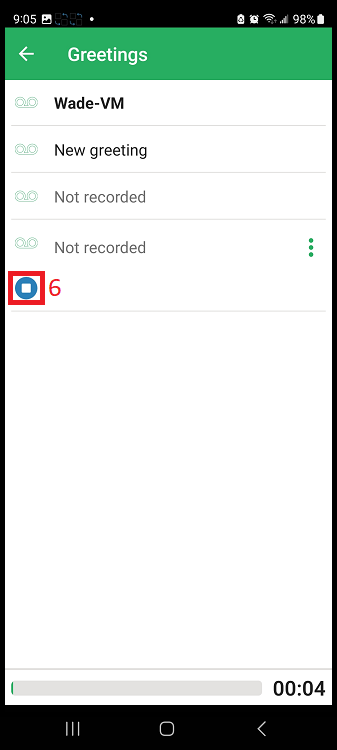
- Hit the Stop button to stop the recording.
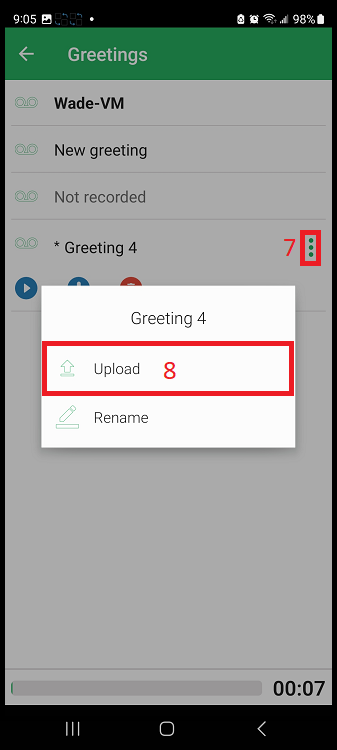
- Select Greeting settings.
- Click Upload.
- Enable the Green Checkmark to set the greeting as the active greeting.
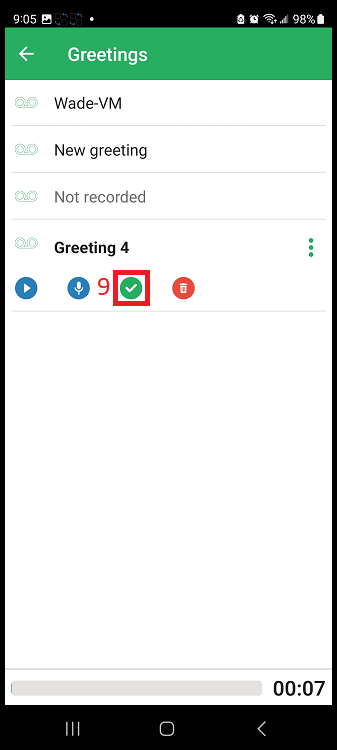
Press (Play Icon) to list to a greeting
Press (Record Icon) to record a greeting
Press (Trash Icon) to delete a greeting
Call Groups
To receive incoming group calls for specific groups, you must enable agent roles.
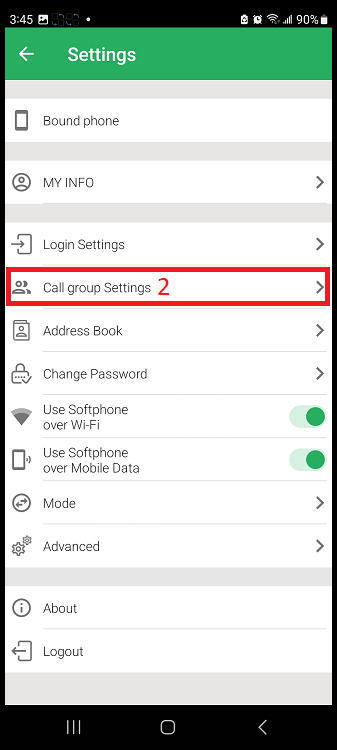
- Navigate to Settings
- Click Call Group Settings
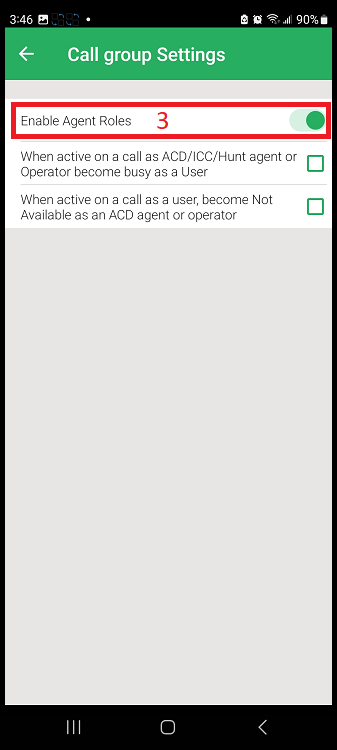
- Enable the Enable Agent Roles
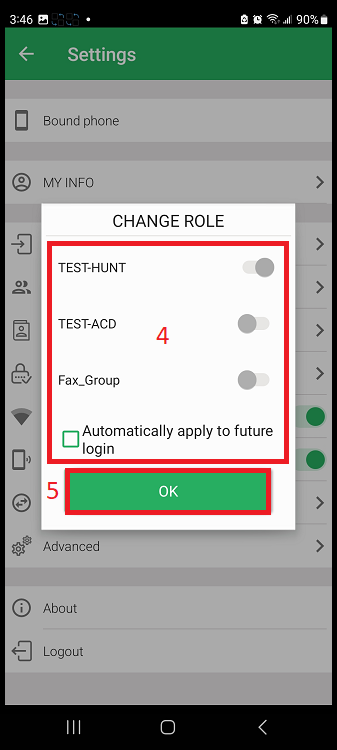
- As soon as agent roles are enabled, you will then see the Role Selection window. In the Role Selection window, select the group(s) you would like to login to.
- Press OK
You can also access the Role Selection window from the Group Presence screen
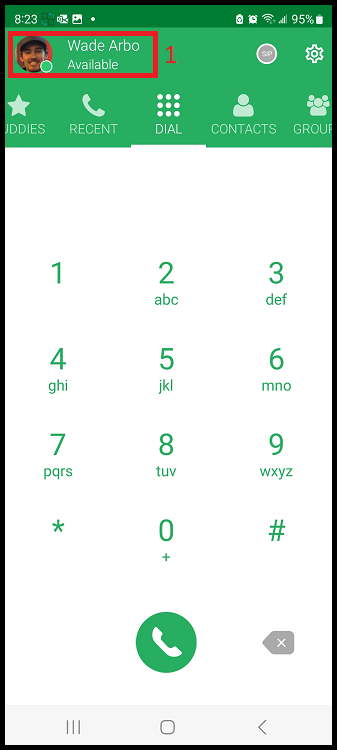
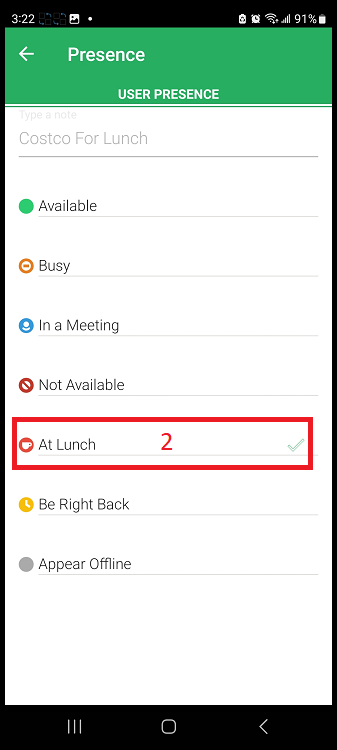
Presence
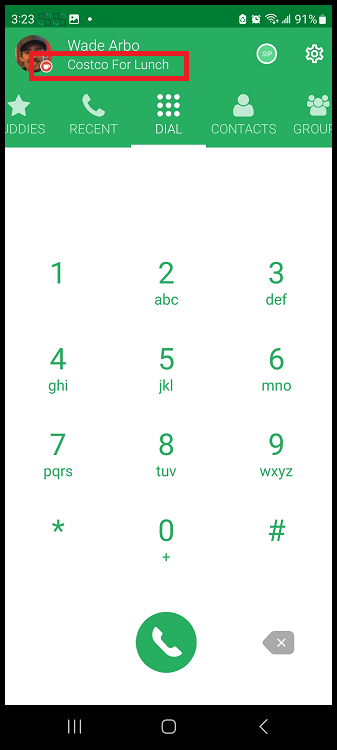
User Presence allows you to change your status and type a customized note for other users on the system to see.
- Press on your name at the top of the screen.
- Select the Status you would like to display to others.
You may also type a custom note at the top to go alongside the status.